在当今快速发展的金融市场中,"配资正规炒股配资门户"这一关键词频繁出现在投资者的视野中。这些门户网站宣称能够为投资者提供杠杆资金,放大投资收益,吸引着众多渴望快....

在当今快节奏的金融市场中,配资炒股已成为一种颇受欢迎的投资方式。配资炒股网站为投资者提供杠杆资金,放大其交易资金,从而获得更高的潜在收益。 配资后,您可以使用配....

常州期货配资,是指投资者通过向配资公司借用资金,放大资金规模,从而提高投资收益的一种方式。对于资金有限的投资者来说,期货配资可以帮助他们把握市场机遇,提升收益水....

股票配资是一种金融杠杆工具,允许投资者以较小的本金撬动更大的资金进行股票投资。通过放大收益,股票配资可以帮助投资者加速财富增值。 * **资金放大:**期货配资....

股票配资是一种杠杆交易方式,通过借入资金放大投资收益。然而,配资也伴随巨大的风险,投资者需谨慎入市,切勿轻信。 * 评估客户风险承受能力,制定个性化配资方案 首....

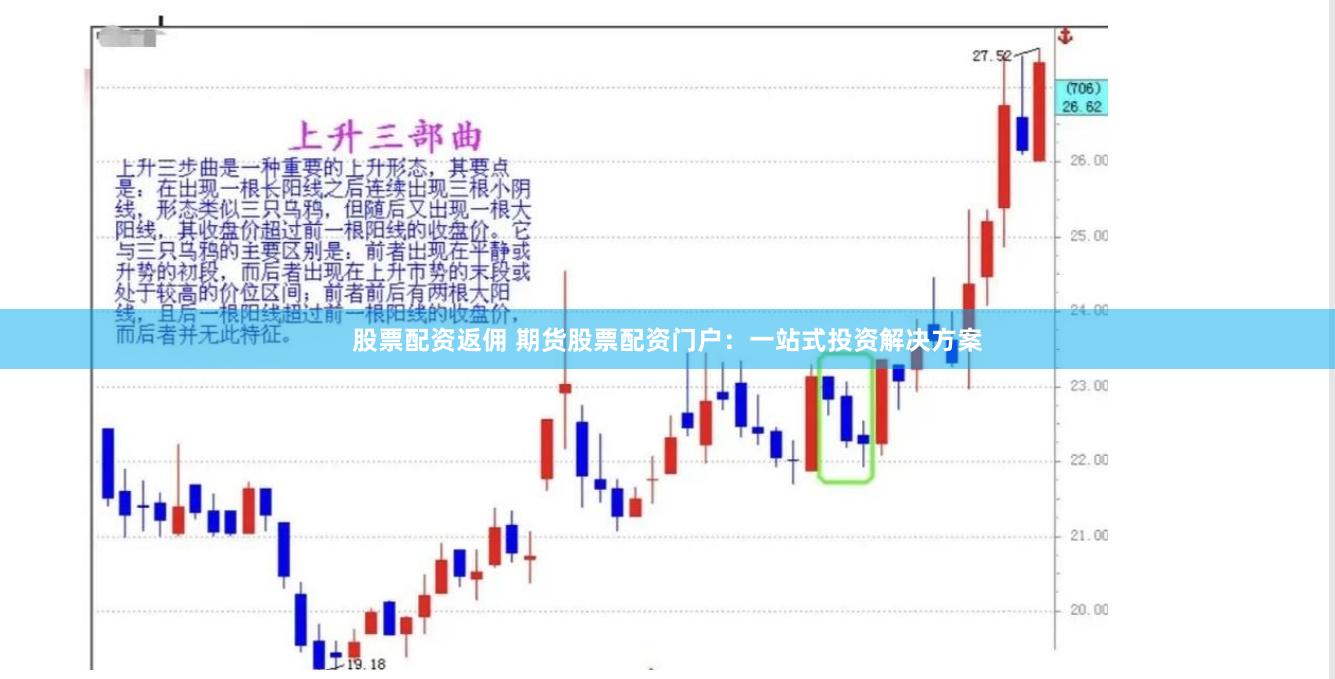
期货股票配资门户是一个综合性的平台股票配资返佣,为投资者提供一站式的投资解决方案。它汇集了来自不同券商的配资产品,让投资者可以轻松比较和选择最适合自己需求的配资....
炒股配资是一种杠杆交易方式,通过向券商借入资金放大投资额度股票配资证券,从而提高潜在收益。然而,配资也存在风险,需要谨慎操作。 * **灵活杠杆:**投资者可以....

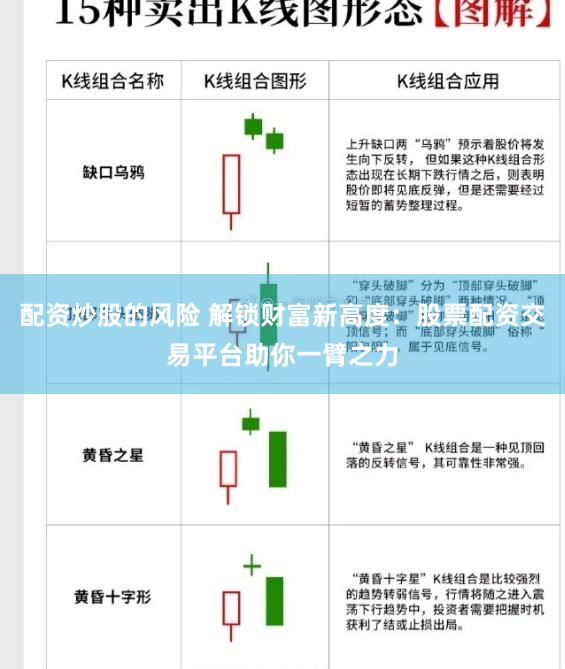
在当今瞬息万变的金融市场中,股票配资交易平台正成为解锁财富新高度的利器。这些平台通过提供杠杆资金,让投资者能够放大其投资规模配资炒股的风险,从而获得更高的潜在回....
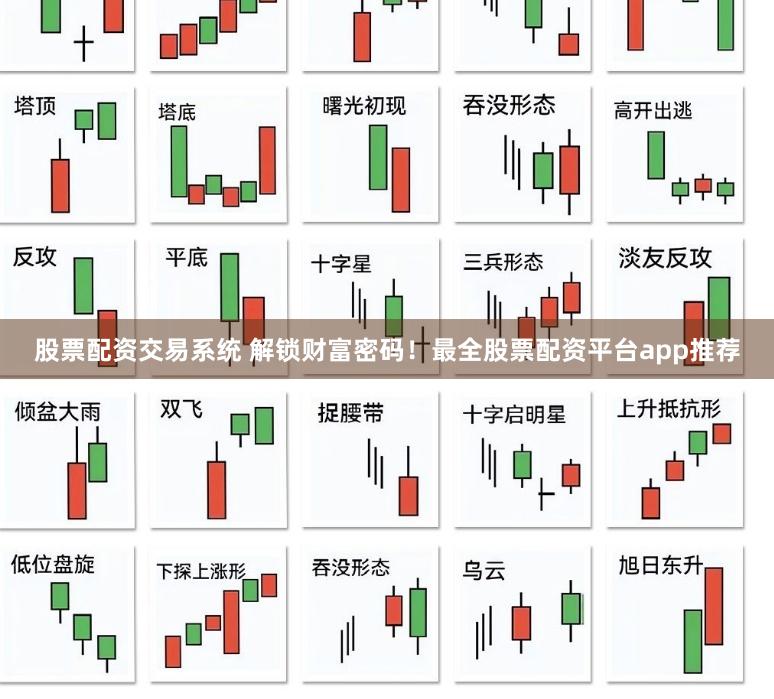
在股票投资领域,配资平台可以帮助投资者放大收益,但选择合适的平台至关重要。以下是最全的股票配资平台app推荐: - **手续费与佣金**:直接影响交易成本,是选....
近年来股票怎样配资,随着投资渠道的多元化,一些宣称“高杠杆、高回报”的外盘期货配资平台悄然兴起,吸引了不少寻求快速获利的投资者。然而,这背后往往隐藏着巨大的风险....

免费配资炒股平台是一种创新性的金融工具,它允许投资者在不投入额外资金的情况下放大其收益。通过与配资公司合作正规期货配资排行,投资者可以获得杠杆资金,从而增加其交....

黄金期货配资软件是一种金融工具线上炒股配资,可让投资者在黄金期货市场上获得更高的杠杆率。通过使用配资软件,投资者可以放大其投资,从而增加潜在利润。 选择正规、信....

在搜索引擎中输入“配资正规网上炒股”股票配,你会看到大量宣称“合法合规”、“低门槛高收益”的广告。这些信息往往包装精美,承诺提供数倍于本金的资金,助你“抓住牛市....

广东股票配资网是一个专业的股票配资平台,致力于为投资者提供安全、便捷、高效的配资服务。通过与多家金融机构合作,平台为投资者提供高达10倍的杠杆资金线上配资炒股,....

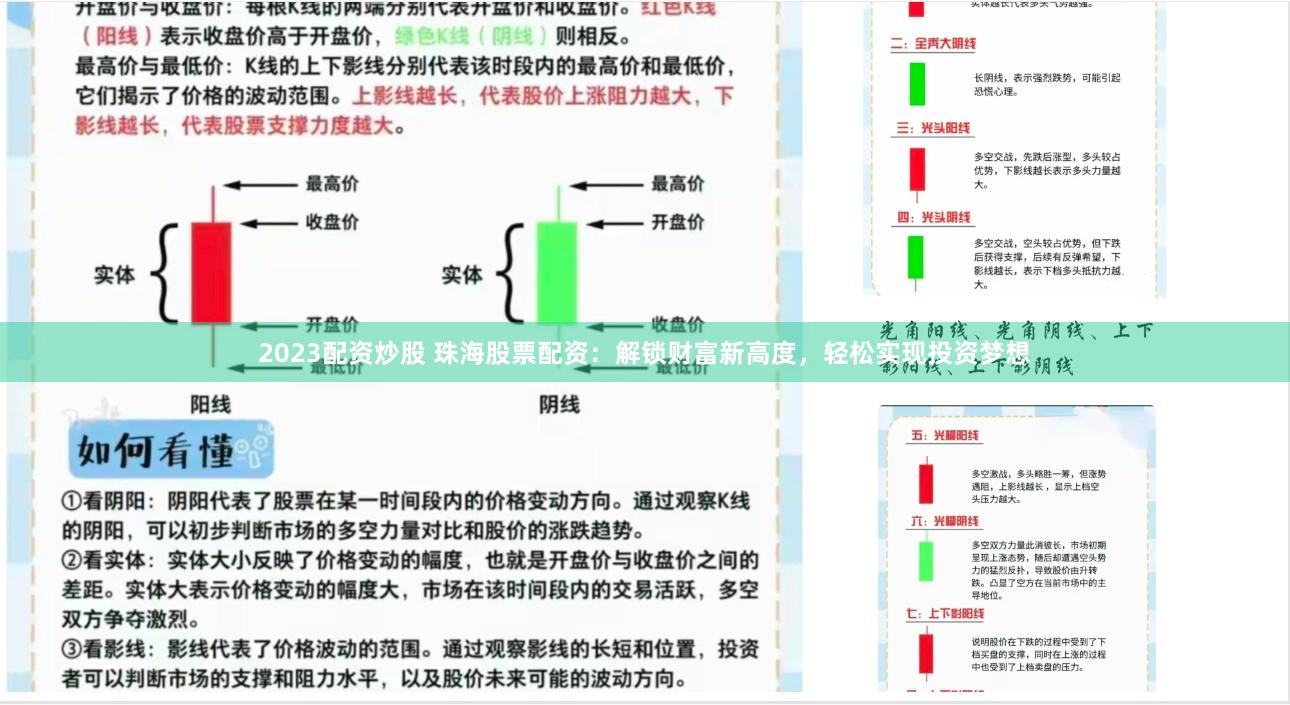
在投资领域2023配资炒股,股票配资已成为一种备受瞩目的方式,它能有效放大投资收益,帮助投资者实现财富梦想。珠海作为经济发达的沿海城市,股票配资市场也十分活跃。....
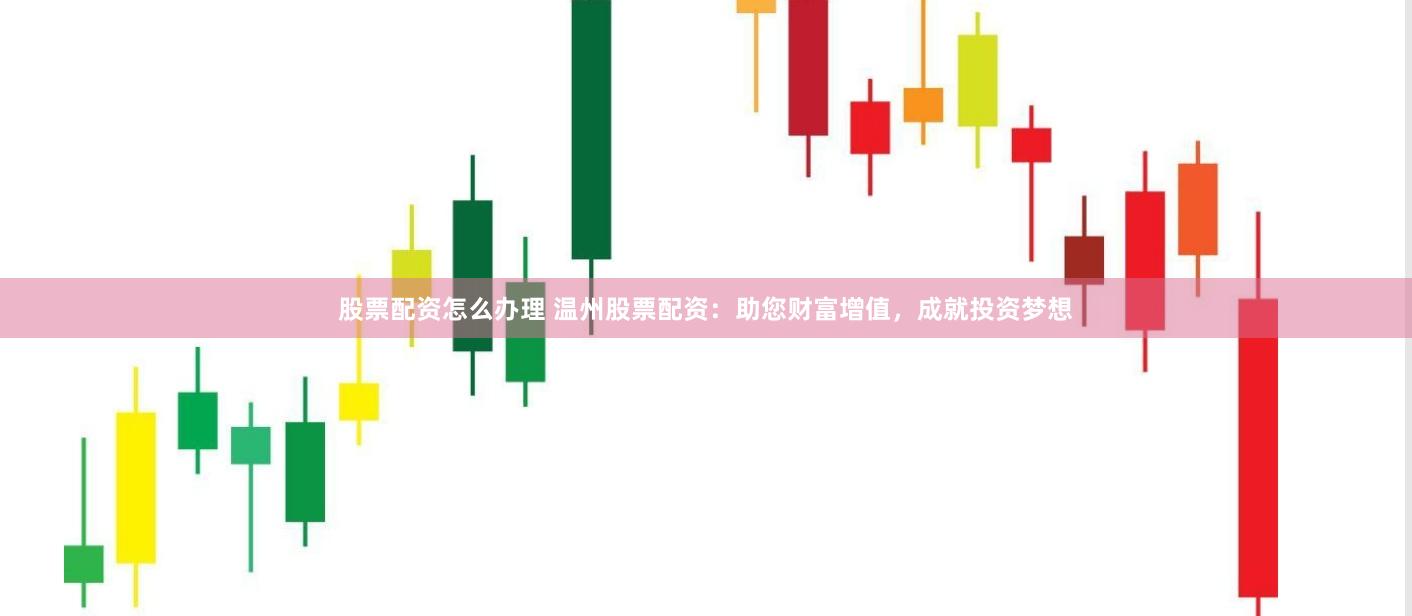
温州股票配资,作为一种专业的金融服务,为投资者提供了杠杆化的投资机会,助力其财富增值,成就投资梦想。 * **实时股价:**显示股票当前的交易价格,反映市场对该....
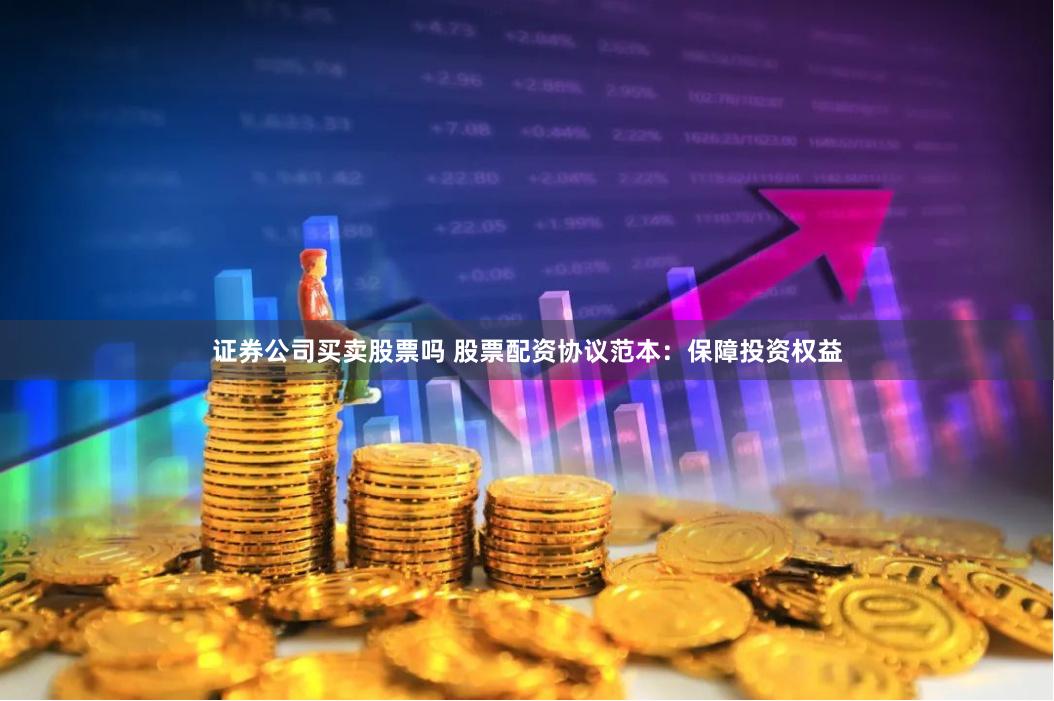
股票配资协议是投资者与配资公司之间签订的合同证券公司买卖股票吗,旨在明确双方的权利和义务,保障投资权益。以下是一份股票配资协议范本: 1. **选择正规配资公司....
股票配资是一种杠杆化的投资方式,可以放大投资收益,但同时也伴随更高的风险。对于想要进行股票配资的投资者崇左股票配资,需要满足以下基本条件: * **降低风险:*....

在股票投资领域配资股票交易网站,配资可以放大投资收益,但选择正规可靠的配资平台至关重要。以下推荐几个正规股票配资平台,助你把握投资良机配资股票交易网站: * *....
在当今快节奏的金融市场中配资炒股网站,股票配资已成为投资者扩大收益潜力的一种流行方式。通过在线股票配资开户,您可以轻松撬动财富杠杆,获得更高的投资回报。 * *....

在当今竞争激烈的金融市场中,免费股票配资已成为投资者实现财富增长的有力工具。通过配资,您可以放大您的投资资本,从而获得更高的潜在回报。 全国股票配资公司的主要业....

当屏幕上的K线图如过山车般起伏,当一夜暴富的传说在投资圈流传,一种危险的诱惑正在蔓延——外盘配资公司承诺的“十倍杠杆”“百倍收益”,像伊甸园的禁果般诱人。然而,....

在瞬息万变的股市中,把握投资良机至关重要。股票配资软件应运而生股票配资有风险吗,为投资者提供了一条便捷高效的财富增值之路。 * **正规资质:**选择持有合法经....

股票型私募基金通过投资股票市场,为投资者提供潜在的高收益。它们采用各种投资策略港股配资平台,包括: * **放大收益:**杠杆作用放大投资收益,提升获利空间。 ....

## 警惕“配资正规网上股票配资”陷阱:高杠杆背后的风险与合规之路 聊城股票配资流程简单,手续便捷。投资者只需提供必要的资料,即可快速获得配资额度。配资资金可随....
上海期货配资为投资者提供了杠杆资金,助力他们放大收益,掘金期货市场。配资公司提供资金,投资者只需缴纳一定比例的保证金股指期货配资平台,即可获得数倍于保证金的资金....

在郑州配资买股票,股票配资正成为投资者掘金的利器。低至的利息,让投资者可以以更小的成本撬动更大的资金,实现财富的快速增长。 易配资股票的门槛非常低,通常只需要几....

在当今快节奏的金融市场中股票配资在线炒股配资,股票配资已成为投资者增加收益的有效工具。通过股票配资软件,您可以轻松地获得资金杠杆,放大您的投资潜力。 * **放....
股票配资平台声称可以放大投资者资金,提高收益率。然而,这些平台的可靠性却备受质疑。 1. 杠杆效应:配资服务允许投资者以较少的资金参与更大规模的交易,从而提高盈....

股票配资系统是一种金融工具股票配资哪个好,允许投资者利用杠杆效应放大其投资组合。通过向经纪人借入资金,投资者可以增加其购买力,从而获得更高的潜在回报。 期货配资....

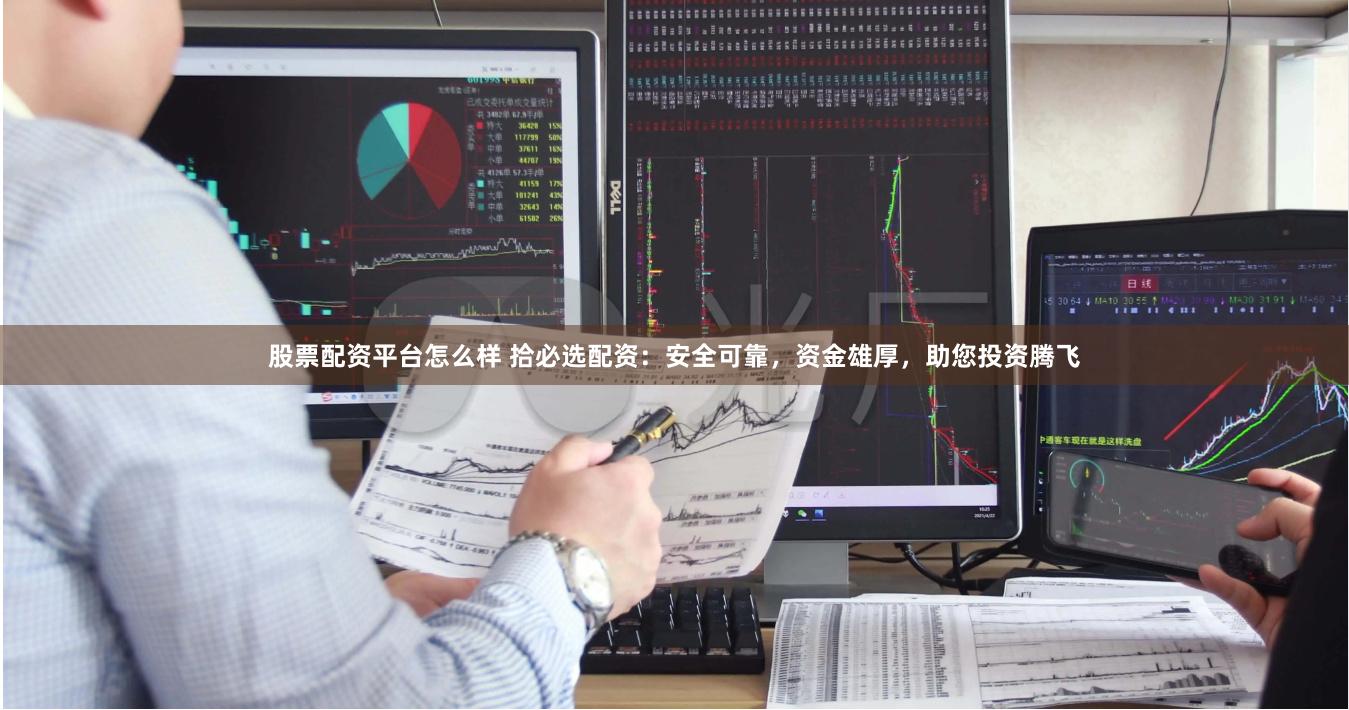
拾必选配资是一家专业从事股票配资的金融服务公司股票配资平台怎么样,以安全可靠、资金雄厚著称,为广大投资者提供优质的配资服务,助力其投资腾飞。 * **安全可靠:....
场内配资是一种证券投资杠杆工具天津股票配资公司,允许投资者通过向券商借入资金来放大投资收益。与场外配资相比,场内配资具有监管规范、资金安全、操作便捷等优势。 *....

免费股票配资是一种金融工具,可让您使用经纪人的资金进行投资,而无需支付利息或费用。这可以极大地提高您的投资潜力新手炒股配资平台,让您有机会获得更高的回报。 股指....

随着全球金融市场一体化配资炒股股,越来越多投资者开始关注外盘交易机会。然而,外盘开户与配资涉及跨境操作,选择安全渠道并掌握正确方法至关重要。本文将为您提供一份实....

股票配资平台为投资者提供杠杆资金,放大其投资规模,提升获利潜力。通过配资,投资者可以以较小的本金撬动更大的资金北京期货配资公司有哪些,抓住市场机遇,实现更高的收....

股票配资是一种杠杆投资工具在线炒股配资选择配资,允许投资者以较小的本金撬动更大的资金进行股票投资。8倍股票配资是指投资者以1元本金,配资公司提供8元资金,共计9....

股票配资网站为用户者提供专业的股票配资服务,帮助用户高效利用资金提升配资收益。便捷、安全、透明的配资平台,实时行情,让您轻松实现财富增值。


上证指数
深证成指
创业板指

在股票投资领域,配资平台可以帮助投资者放大收益,但选择合适的平台至关重要。以下是最全的股票配资平台app推荐: - **
期货市场作为高杠杆投资工具,为投资者提供了放大收益的机遇。合肥期货配资平台应运而生,为投资者提供资金杠杆,助力其提升投资
福建股票配资线上股票配资公司,为投资者开启了一条通往财富新篇章的康庄大道。通过配资,投资者可以轻松撬动股市杠杆,放大收益
正规股票配资是一种杠杆化的投资方式,通过向专业配资公司借入资金,投资者可以放大自己的投资本金,从而获得更高的收益。然而,
对于想要投资港股的投资者来说股票配资平台排名,港股配资是一个不容错过的利器。它可以帮助投资者放大资金杠杆,提高投资收益率
**引言** * **专业风控:**平台采用先进的风控系统,实时监控市场动态,及时预警风险,保障您的资金安全。 配资,又
在期货市场中,配资可以放大投资者的收益,但同时也增加了风险。因此,选择一家正规的期货配资公司至关重要。本文将揭秘正规期货
股票配资是一种杠杆交易方式股票配资交易软件,通过向券商借钱放大资金规模,从而提高投资收益。然而,配资交易也伴随着较高的风