股票场外配资是一种杠杆投资方式股票配资线,通过向第三方借款放大投资资金,以期获得更高的收益。然而,高收益的背后也潜藏着巨大的风险。 * **资金放大:**杠杆资....

正规股票配资是一种杠杆化的投资方式,通过向专业配资公司借入资金,投资者可以放大自己的投资本金,从而获得更高的收益。然而,选择正规的配资公司至关重要,以确保资金安....
期货市场波澜壮阔,蕴藏着巨大的财富机遇。然而,对于资金有限的投资者而言股票配资平台app,参与期货交易往往面临着资金不足的困境。配资期货配资应运而生,为资金有限....
配资炒股平台提供资金杠杆,放大投资者的收益,但同时也伴随着巨大的风险。为了避免入坑,投资者应牢记以下指南: 1. 合法合规:确保平台具备相关的金融牌照和监管,以....

在当今快节奏的金融市场中,网络配资炒股平台已成为投资者提升收益的利器。这些平台提供杠杆资金,使投资者能够放大其交易规模淘银网股票配资,从而增加潜在利润。 * 放....

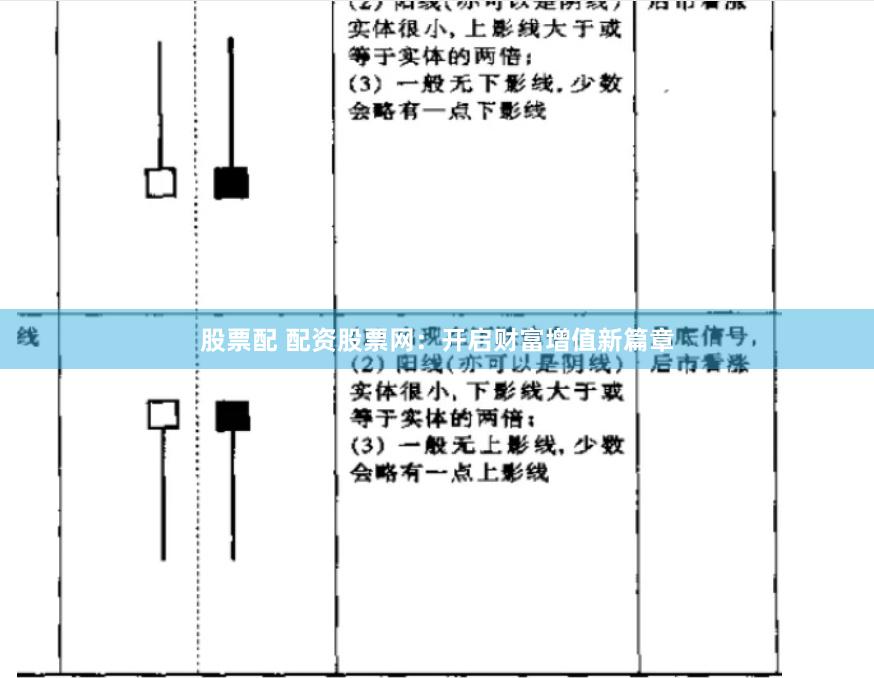
在当今瞬息万变的金融市场中股票配,配资股票网正成为投资者寻求财富增值的新途径。配资股票网通过提供杠杆资金,让投资者能够放大其投资潜力,从而获得更高的回报。 免息....
江西配资炒股是一种杠杆化的股票投资方式,通过向配资公司借入资金,投资者可以放大投资规模,提高收益率。对于股市投资新手和资金有限的投资者而言,配资炒股不失为一种有....

在上海这座金融之都,股票配资公司如雨后春笋般涌现股票配资平台的小知识配资平台股票,为投资者提供了实现财富梦想的契机。 1. 确定理财目标:首先,明确自己的理财目....

在当今瞬息万变的金融市场中炒股配资门户,股票配资已成为投资者提升收益率的有效工具。保定股票配资,凭借其专业团队和完善的风险控制体系,为投资者提供安全可靠的配资服....

对于资金短缺的投资者来说,广州期货配资无疑是一条撬动财富杠杆的捷径。通过配资禁止股票配资,投资者可以放大资金规模,从而获得更高的收益。 股票配资平台鱼龙混杂,选....

厦门恒指期货配资,为投资者提供高杠杆、低门槛的投资机会,助力其放大收益智沪深股票配资平台,实现财富增值。 期货配资提供杠杆资金,放大投资者的资金规模。例如,投资....
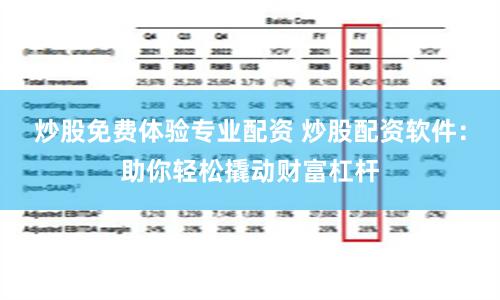
在股票市场中,配资是投资者通过借贷资金来放大投资规模的一种方式。炒股配资软件为投资者提供了便捷高效的配资服务炒股免费体验专业配资,助其轻松撬动财富杠杆。 * *....
免息股票配资是一种金融工具9关键词:实盘股票配资,允许投资者使用经纪商提供的资金进行股票交易,而无需支付利息。这为投资者提供了放大收益的独特机会,同时降低了风险....

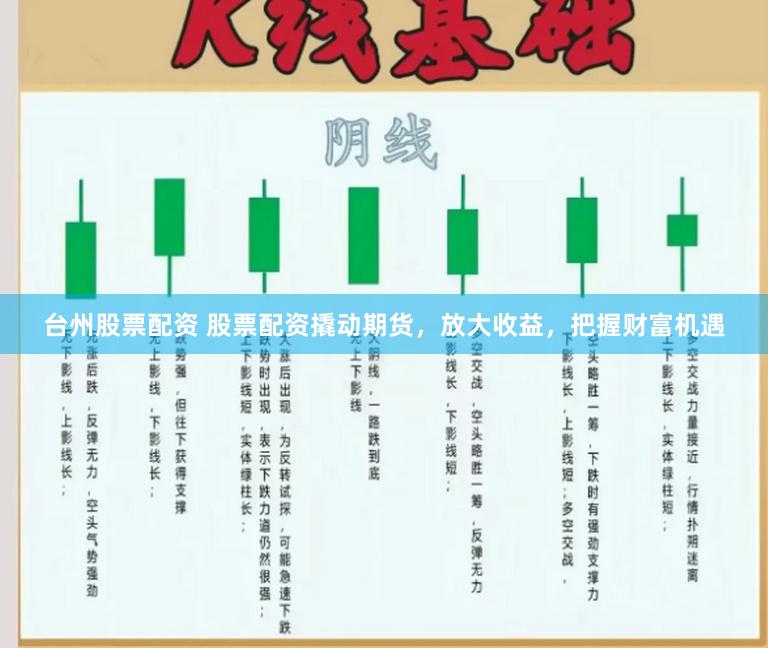
股票配资是一种杠杆投资方式,可以放大投资收益。而期货市场则是一个波动性较大的市场,提供了丰富的交易机会。将股票配资与期货交易相结合,可以有效放大收益台州股票配资....
期货配资是一种杠杆投资方式,通过向配资公司借入资金,投资者可以放大交易资金,从而获得更高的收益。对于资金有限的投资者来说能炒股吗,期货配资提供了抓住财富机遇的绝....

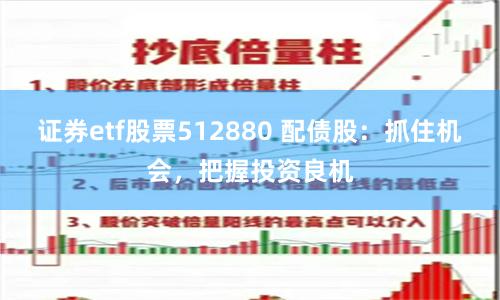
配债股是一种特殊的股票证券etf股票512880,它附带了可转换债券,允许投资者在未来一定时间内以预定的价格将股票转换为债券。配债股兼具股票和债券的特性,为投资....
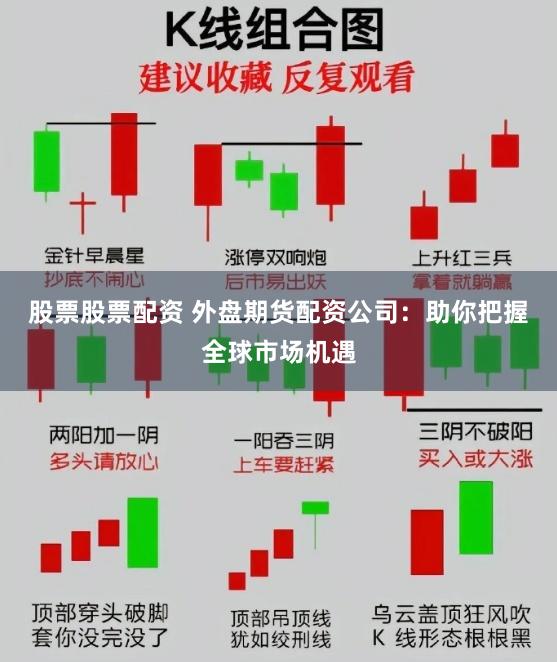
外盘期货市场是一个充满机遇和挑战的领域。对于资金有限的投资者来说,外盘期货配资公司提供了杠杆资金,帮助他们放大收益潜力。 这是最常见的股票配资类型。投资者使用自....
配资炒股是一种杠杆投资方式,可以放大投资收益,但同时也伴随着一定的风险。配资炒股中心作为专业的配资平台,致力于为投资者提供安全可靠的配资服务,帮助投资者稳健获利....

股票融配资是一种利用杠杆放大投资资金的融资方式2023年股票配资,投资者可以以较少的自有资金撬动更多的资金进行股票投资。这种方式可以放大收益,但也伴随着更高的风....
厦门股票配资为投资者提供了杠杆化的投资机会,助力其放大收益,实现稳健获利。 1. 可靠性和信誉度:首先要查找具有良好声誉和可靠性的股票配资平台。可以通过阅读用户....

在当今竞争激烈的投资市场中,资金杠杆已成为投资者实现财富增长的关键工具。中国股票配资网上提供了一个便捷的平台,让投资者可以解锁资金杠杆,放大投资收益。 1. 选....

股票配资,是指投资者通过向配资公司借款,放大资金杠杆,进行股票投资的行为。近年来,股票配资平台层出不穷,为投资者提供了新的投资理财选择。 月配股票配资提供高达1....

在财富增值的道路上港股配资开户,股票投资无疑是一条充满机遇的康庄大道。然而,对于资金有限的投资者而言,股票配资可以成为撬动财富杠杆的利器。厦门股票配资,以其专业....

在当今快节奏的金融市场中,利用技术优势至关重要。股票配资源码为交易者提供了强大的工具,可以提升他们的交易策略并最大化利润潜力。 配资放大收益的同时,也带来了风险....

股票配资中心为投资者提供杠杆交易服务安全炒股配资门户,让您以更少的资金撬动更大的投资机会。通过配资,您可以放大您的投资收益,加速财富积累。 * **放大收益:*....

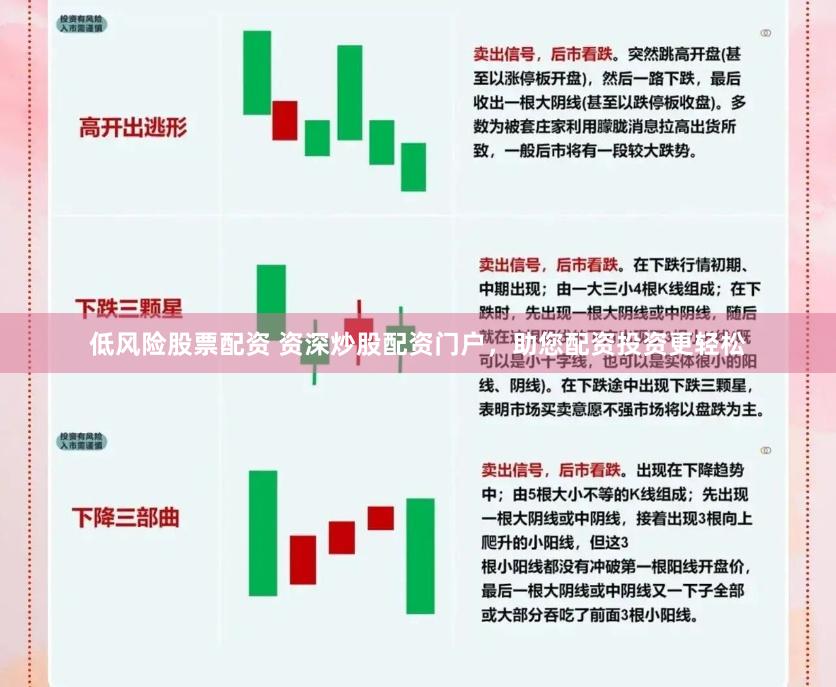
在瞬息万变的股市中低风险股票配资,配资投资已成为许多投资者追求更高收益的有效途径。然而,选择可靠的配资平台至关重要。 1. 了解股指期货市场:在选择股指期货配资....
股票配资是一种杠杆投资方式线上股票配资网站,可以放大投资者的资金,从而获得更高的收益。以下流程图展示了股票配资的具体步骤: 配资炒股的杠杆通常为1:2至1:10....

在股票市场中,稳健获利是每个投资者的目标。资深股票人士分享了以下秘诀,帮助你实现这一目标: * **资金安全保障:**平台拥有完善的风控体系,确保投资者资金安全....

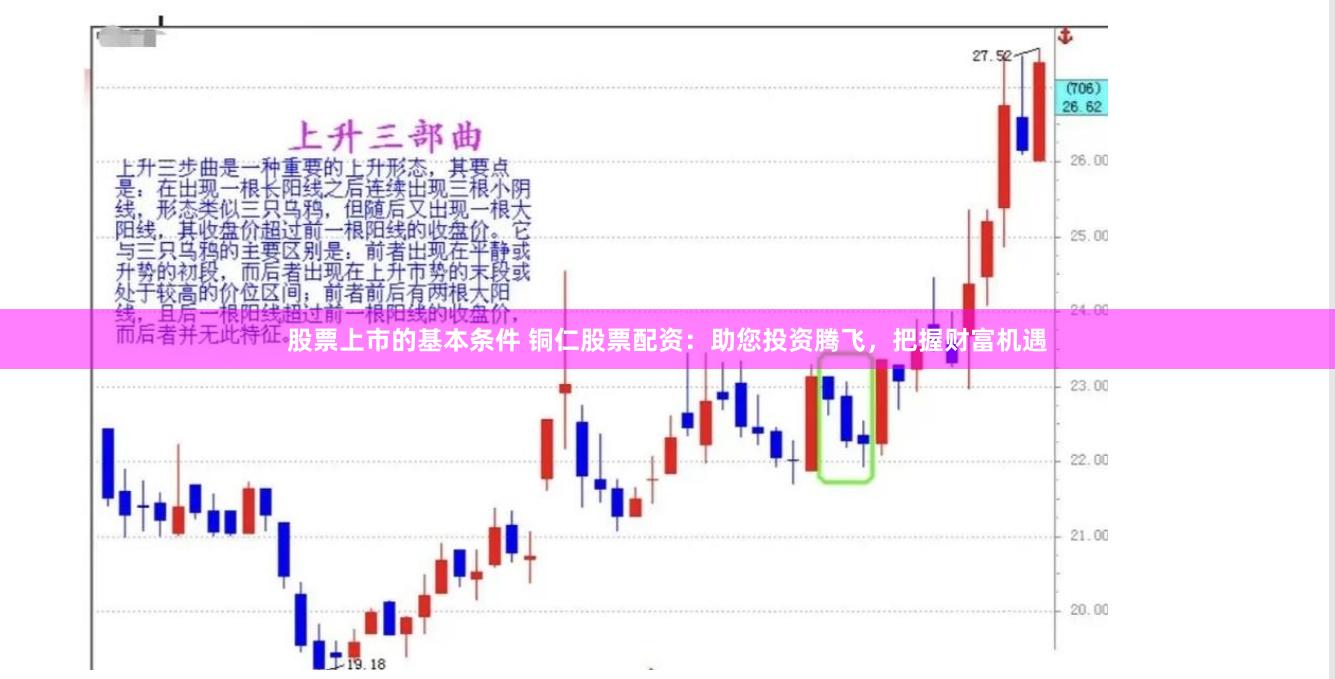
在当今瞬息万变的金融市场中,股票配资已成为投资者提升收益的有效工具。铜仁股票配资凭借其专业服务和灵活的配资方案股票上市的基本条件,为投资者提供了一条通往财富之路....
在股票市场中,资金是至关重要的。而股票配资,则可以帮助投资者放大资金,获得更高的收益。 此外,该网站采用严格的审核流程,确保配资对象资质可靠,信誉良好。投资者可....

炒股配资,是指投资者通过借用资金来放大炒股资金,从而提高收益率的一种方式。对于资金有限的投资者来说,炒股配资可以提供杠杆效应,帮助他们获得更高的收益。 * **....

股票配资是一种杠杆交易方式,可以放大投资者的收益,但同时也会增加风险。作为配资公司杭州股票配资公司,获取优质的股票配资客户至关重要。以下是一些轻松获取客户的策略....

在漳州,股票配资已成为一种备受投资者青睐的投资方式。它通过放大资金杠杆,帮助投资者以较小的本金撬动更大的资金,从而获得更高的收益。 1. 杠杆作用:期货配资允许....
在投资领域,股票配资是一种杠杆化的投资方式新手炒股配资,可以放大投资收益。然而,选择一家专业的股票配资公司至关重要,以确保您的投资安全无忧。 **2. 了解配资....

股票配资行业竞争激烈股票配债如何操作,精准定位和高效触达潜在客户至关重要。以下秘籍可助您挖掘优质客户: 1. **富途证券**:综合实力强,平台稳定,风控严格。....
配市值股票是一种投资策略乐股配资,将股票按其市值(股票数量乘以每股价格)进行分配。这种策略旨在通过在不同市值范围内的公司中分散投资,来降低投资组合的整体风险。 ....

股票配资网站为用户者提供专业的股票配资服务,帮助用户高效利用资金提升配资收益。便捷、安全、透明的配资平台,实时行情,让您轻松实现财富增值。


上证指数
深证成指
创业板指
期货市场作为高杠杆投资工具,为投资者提供了放大收益的机遇。合肥期货配资平台应运而生,为投资者提供资金杠杆,助力其提升投资
福建股票配资线上股票配资公司,为投资者开启了一条通往财富新篇章的康庄大道。通过配资,投资者可以轻松撬动股市杠杆,放大收益
正规股票配资是一种杠杆化的投资方式,通过向专业配资公司借入资金,投资者可以放大自己的投资本金,从而获得更高的收益。然而,
**引言** * **专业风控:**平台采用先进的风控系统,实时监控市场动态,及时预警风险,保障您的资金安全。 配资,又
在期货市场中,配资可以放大投资者的收益,但同时也增加了风险。因此,选择一家正规的期货配资公司至关重要。本文将揭秘正规期货
股票配资是一种杠杆交易方式股票配资交易软件,通过向券商借钱放大资金规模,从而提高投资收益。然而,配资交易也伴随着较高的风
股票配资是一种杠杆投资方式,投资者可以借用资金放大投资规模。然而,配资也伴随着利息成本,不同平台的利率差异较大。 配资的
股票配资行业竞争激烈股票配债如何操作,精准定位和高效触达潜在客户至关重要。以下秘籍可助您挖掘优质客户: 1. **富途证